10 Everyday Problems That Are Easier to Fix Than You Think
Key Takeaways
- Start by identifying the part causing the symptom before replacing or cleaning anything.
- A weak faucet, slow drain, or running toilet often has a visible, accessible place to check first.
- For cleaning and laundry problems, remove residue and find its source rather than covering up the symptom.
- Stop a DIY fix if you find an active leak, damaged wiring, or a problem that continues after the basic checks.
Table of Contents
- Quick symptom-to-fix guide
- Why is one faucet running slowly?
- What is the first fix for a slow bathroom sink?
- Why does the toilet keep running after a flush?
- How do you fix an interior door that sticks?
- Why won’t a cabinet door close all the way?
- How do you get rid of a refrigerator odor?
- How do you remove stuck-on microwave splatters?
- Why do clothes feel soapy after washing?
- How can you stop the entryway from becoming cluttered?
- What helps when you keep misplacing your keys?
- Frequently Asked Questions
- The takeaway: diagnose first, then make one small change
Many everyday problems have a smaller first step than you might expect. A slow sink may need its stopper cleared, while a cabinet door that will not close may simply need its contents moved. The useful habit is to match the symptom to a likely cause, test one change, and stop if the problem points to a larger repair.
The fixes below cover common household annoyances without assuming every symptom has the same cause. Renters can usually handle routine cleaning and organization, but should follow their lease and report repairs that require changing plumbing, fixtures, or electrical parts.
Quick symptom-to-fix guide
Use the most visible symptom to choose a starting point. If that first check does not explain the problem, follow the next-step guidance in the relevant section rather than repeating a fix that did not work.
| Problem and symptom | First place to check | First action |
|---|---|---|
| Weak flow at one faucet | Faucet outlet | Check for debris in the removable tip. |
| Slow bathroom sink | Visible stopper opening | Remove accessible hair and buildup. |
| Toilet keeps running | Inside the tank | Watch whether the flapper settles over the opening. |
| Interior door sticks | Where the door rubs | Look for an obstruction or loose hinge screws. |
| Cabinet door will not close | Cabinet contents and hinges | Move objects away from the door and check hardware. |
| Refrigerator smells bad | Food and spills | Remove the source and wash affected surfaces. |
| Microwave has stuck-on splatters | Interior surfaces | Soften residue before wiping. |
| Laundry feels soapy | Detergent use and rinse result | Check the product directions and wash a test load. |
| Entryway gets cluttered | Items left at the door | Assign a place for each item that belongs there. |
| Keys keep disappearing | Where you set them down | Choose one consistent landing spot. |
For water-related problems, pause if you see water escaping where it should not. Avoid working on an appliance with damaged wiring or a damaged power cord; those are not cleaning problems. If you cannot isolate an active leak or a repair requires opening electrical components, stop and arrange appropriate service.
1. Why is one faucet running slowly?
If only one faucet has weak flow, start at that faucet’s outlet. The removable tip, often called an aerator, mixes air into the stream and can collect debris that narrows the passage.
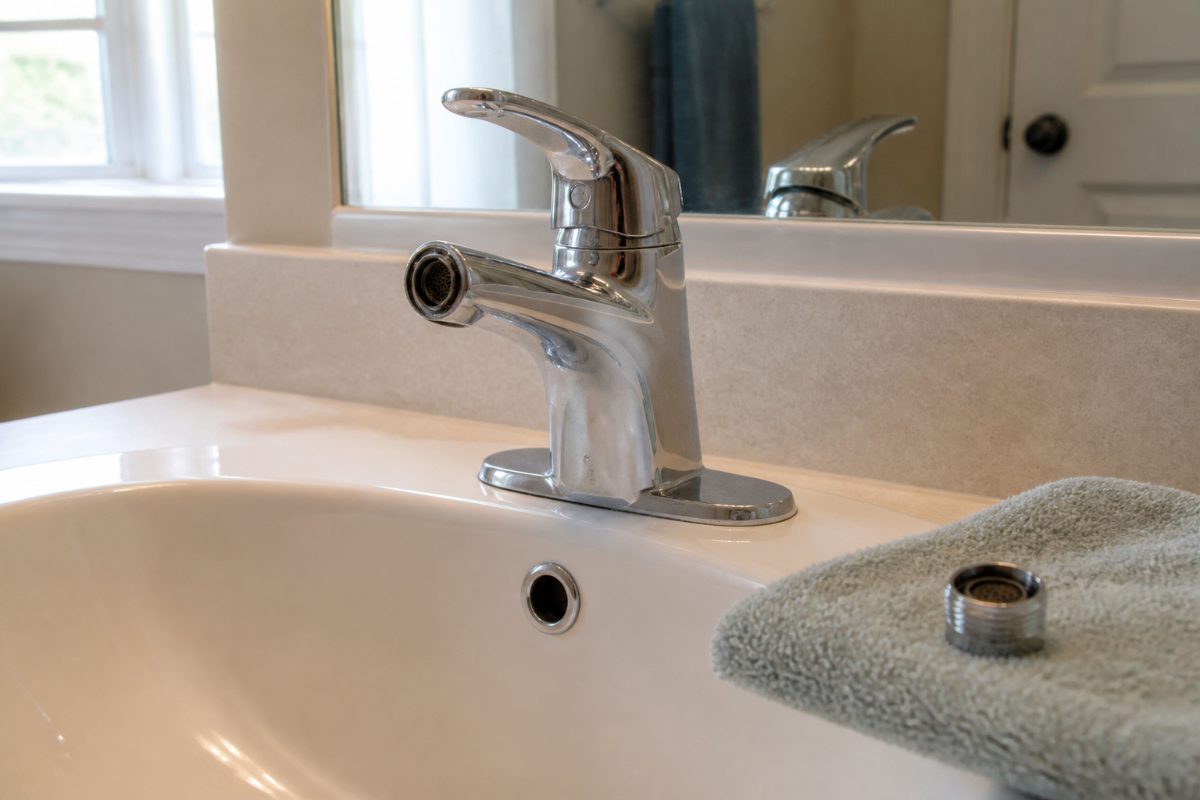
- Check: Compare the flow at another faucet. Then look at the affected outlet for a removable tip and note how its pieces fit before taking anything apart.
- Fix: If the tip is designed to come off, remove it gently, rinse away loose debris, and reassemble it in the same order. Protect the finish if a tool is needed, and do not force a part that will not turn.
- Next step: Test the flow again. If several fixtures are weak, the problem is not confined to this faucet tip; if water leaks around the faucet after reassembly, stop using that connection until it is corrected.
Clearing a blockage at the outlet can restore flow because water no longer has to pass through a narrowed opening. It will not solve low flow elsewhere in the home. If you rent, cleaning an accessible tip may be reasonable, but leave fixture replacement to the person responsible for repairs.
2. What is the first fix for a slow bathroom sink?
Check the stopper opening for hair and soap buildup before trying a drain product. Material caught near the top of a bathroom drain is easier to reach than a blockage farther down the pipe.
- Check: Look around the stopper and note whether the sink drains slowly all the time or only when the stopper is lowered. Put a small container nearby for wet debris.
- Fix: Remove the stopper only if its design allows easy removal without disconnecting plumbing. Pull out accessible buildup, put the stopper back in its original position, and run water to test drainage.
- Next step: If the opening is clear but the sink remains slow, the restriction may be deeper. If water is leaking under the sink, stop the test and address the leak rather than running more water.
Do not pour one drain chemical on top of another or reach into a drain that contains a product you have already added. For a renter, a persistent clog or any leak under the sink is a good point to submit a maintenance request. Cleaning the visible opening is a useful first test, not proof that the entire drain is clear.
3. Why does the toilet keep running after a flush?
Lift the tank lid and watch what happens after a flush. A flapper is the flexible seal at the bottom of many toilet tanks; when it does not settle over the opening, water can keep moving from the tank into the bowl.
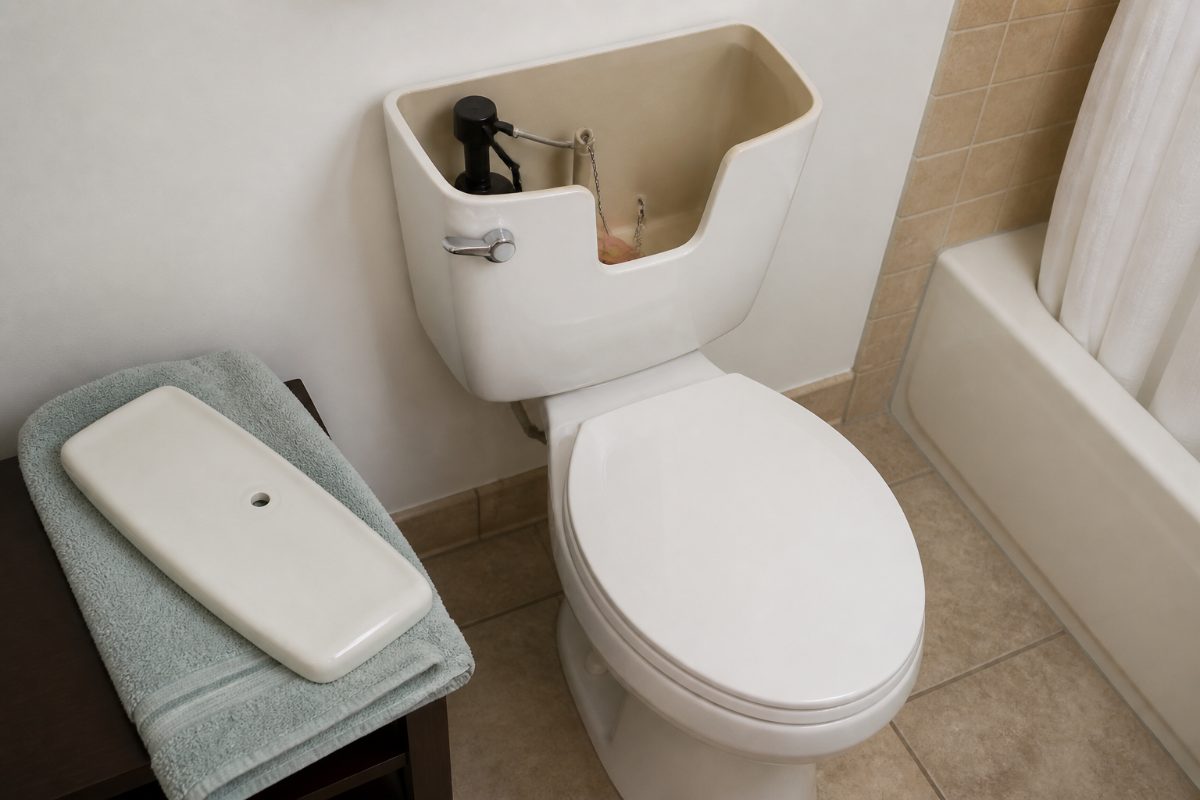
- Check: Look for a chain caught under the flapper, a flapper sitting crooked, or water continuing to move into the bowl. Keep the tank lid somewhere stable while you inspect it.
- Fix: If the chain is visibly snagged, free it so the flapper can sit flat. Test another flush and watch whether the seal closes normally.
- Next step: If nothing is snagged, or the toilet still runs, the flapper or another tank part may need attention. Shut off the toilet’s water supply if it is overflowing or leaking outside the tank, and arrange repair.
This check matters because the sound of running water does not identify a single failed part. Adjusting an obvious chain snag is different from guessing which internal component to replace. Avoid pulling hard on older parts or changing several settings at once; otherwise, it becomes difficult to tell what changed.
4. How do you fix an interior door that sticks?
First find where the door contacts the frame. A sticking door might be meeting an object on the floor, rubbing at an edge, or hanging slightly out of position because hinge screws are loose.
- Check: Open and close the door slowly. Watch the gap around it, inspect the floor nearby, and note whether the rubbing occurs at the top, side, or bottom.
- Fix: Remove an obstruction first. If a hinge is visibly loose, support the door and gently snug the existing screws without overtightening them.
- Next step: Test the swing again. If the door still binds, do not immediately shave down its edge; the contact may change with the door’s position or the surrounding frame.
Locating the contact point prevents an unnecessary alteration to the door. A loose hinge can change how the door sits, so correcting an obvious looseness is a more reversible first step than removing material. Stop if the frame is damaged, the door feels unstable, or the repair would require removing a heavy door you cannot safely support.
5. Why won’t a cabinet door close all the way?
Check the cabinet’s contents before adjusting its hinges. A container, shelf item, or drawer left slightly forward can stop the door even when the hardware is working.
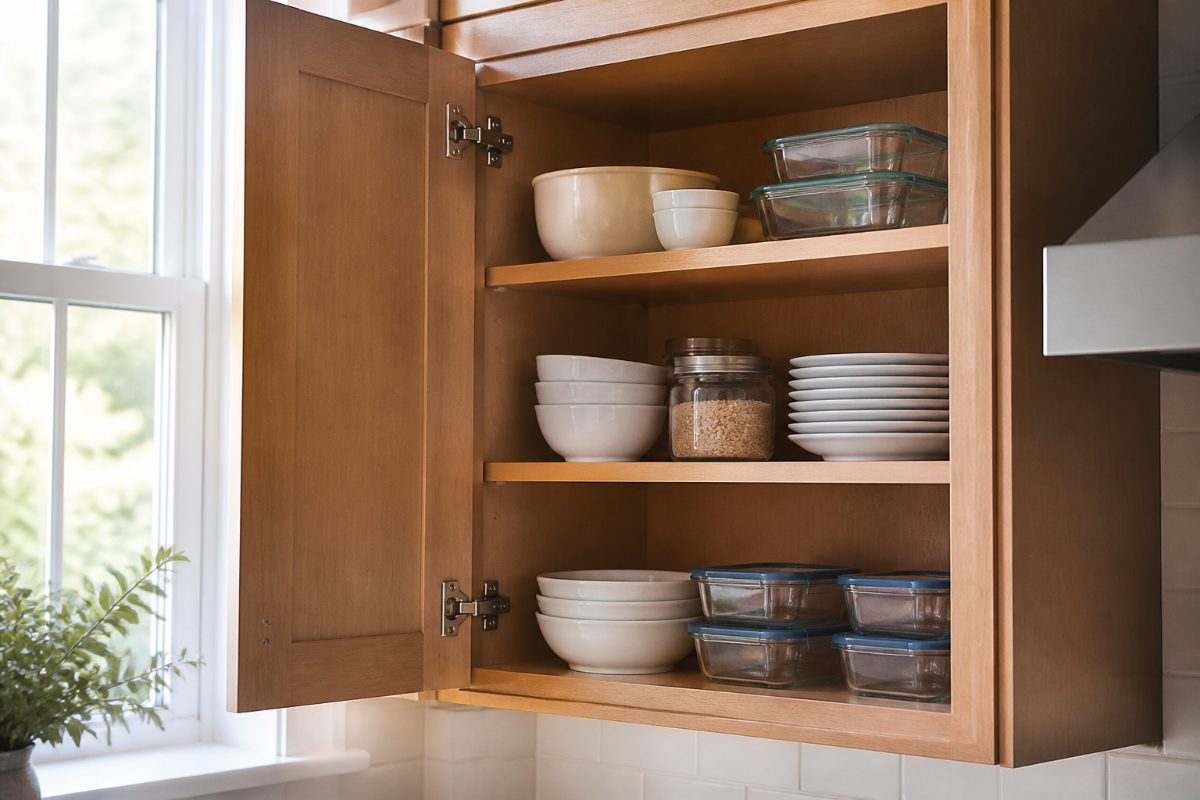
- Check: Open the cabinet fully and look at the area the door enters as it closes. Then inspect the hinges for visibly loose screws or a part that has shifted.
- Fix: Move obstructing items back and try the door again. If a screw is loose, hold the door steady and snug that screw without forcing it into damaged material.
- Next step: If the door still sits crooked or a screw will not hold, avoid making repeated random hinge adjustments. Note where the door rubs and address the hardware or mounting issue directly.
Clearing the cabinet costs nothing and separates an organization problem from a hardware problem. This is especially helpful in a shared kitchen: ask everyone to leave frequently used items where the door can close without pushing against them. If the cabinet itself is loose from the wall, stop using it to hold weight until it is secured.
6. How do you get rid of a refrigerator odor?
Find and remove the odor source before adding a deodorizer. A spill or forgotten food will keep producing an odor if it remains in the refrigerator.
- Check: Work shelf by shelf, inspecting stored food, containers, door compartments, and any visible spills. Pay attention to places where liquid could have reached a shelf edge or drawer.
- Fix: Discard food that is spoiled, wipe up spills, and wash removable surfaces according to the refrigerator’s care instructions. Dry cleaned parts before putting them back.
- Next step: If the smell remains, look for a missed source rather than repeatedly scenting the interior. If the appliance is not keeping food properly chilled or has an electrical problem, treat that as a separate appliance issue.
Cleaning works best when it removes the material causing the smell, not just the air around it. Keep cleaning products away from food and avoid combining cleaners. For a crowded shared refrigerator, making space to see the back of each shelf can be more useful than shifting containers around while leaving the spill in place.
7. How do you remove stuck-on microwave splatters?
Soften food residue before trying to scrape it off. A damp cloth and gentle cleaning can loosen splatters without damaging the interior surface.
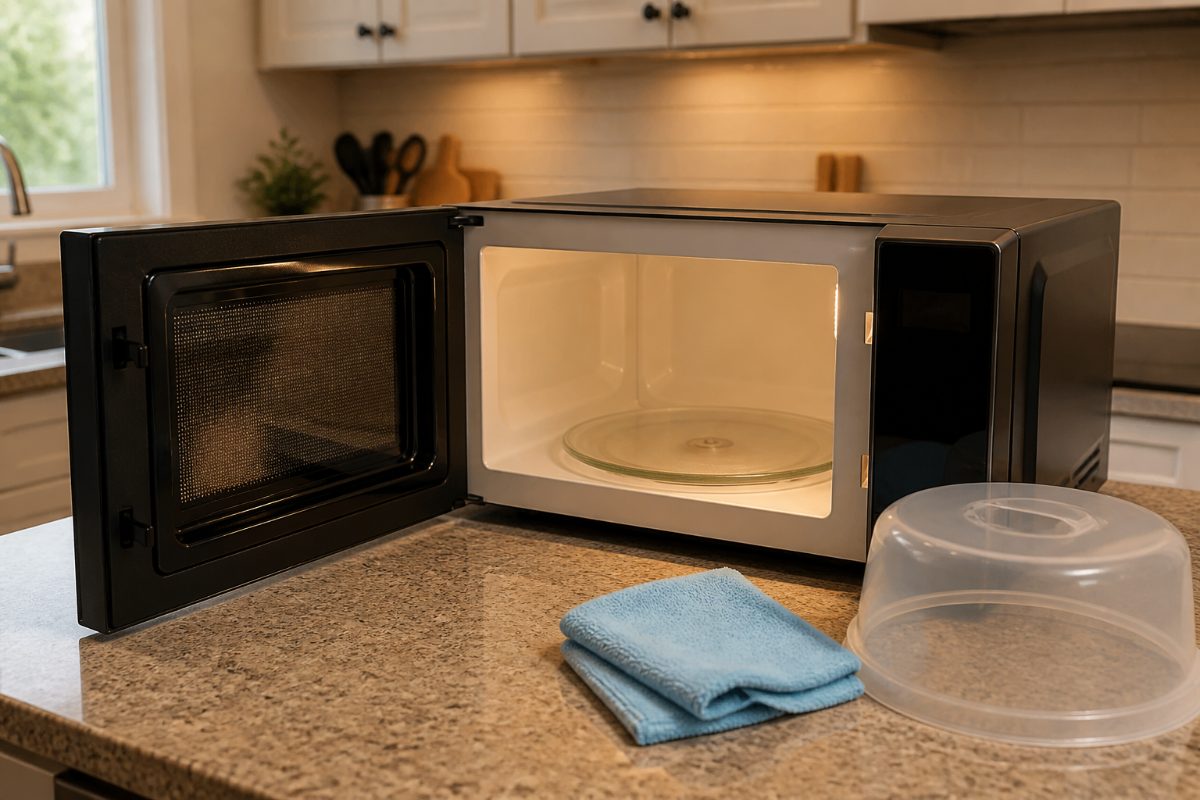
- Check: Let the microwave cool and inspect the interior, including the ceiling and the area beneath the removable turntable, if it has one. Identify whether the mark is food residue or a damaged surface.
- Fix: Wipe with a damp, soft cloth. For stubborn food, let a damp cloth rest against the spot briefly, then wipe again; wash removable pieces as their care instructions allow.
- Next step: If a mark will not lift, do not switch to sharp tools or aggressive scrubbing. Stop using the microwave if you notice arcing, exposed wiring, a damaged door, or a damaged interior coating.
Moisture helps loosen dried food so less force is needed. It cannot repair damaged appliance surfaces, which is why identifying the mark comes before scrubbing. Prevent new buildup by using a microwave-safe cover that allows steam to escape and wiping fresh splatters after the interior has cooled.
8. Why do clothes feel soapy after washing?
If clean clothes feel slippery or show detergent residue, check how much detergent you use and whether the load can move and rinse. More detergent is not always a better wash when some remains in the fabric.
- Check: Read the detergent label and washer instructions, then compare them with what you used. Notice whether the drum was packed tightly and whether residue appears throughout the load or only on a few items.
- Fix: For the next load, follow the product and machine directions rather than adding detergent by habit. Leave enough room for items to move, and use a rinse option if your machine provides one and the load needs it.
- Next step: If a properly loaded test wash still leaves visible residue, check for detergent buildup in accessible dispenser parts using the washer’s care instructions. If the washer is not draining or rinsing normally, treat it as an appliance problem rather than continuing to add wash cycles.
A test load changes one likely cause at a time, making the result easier to interpret. If only one dark item shows marks, inspect that fabric before assuming the whole machine failed. Do not mix cleaning chemicals in the washer or take apart a powered appliance to investigate a rinse problem.
9. How can you stop the entryway from becoming cluttered?
Give items used at the door a specific place, and move everything else out of the entryway. Clutter returns when the area functions as a drop zone but has no clear limit on what belongs there.
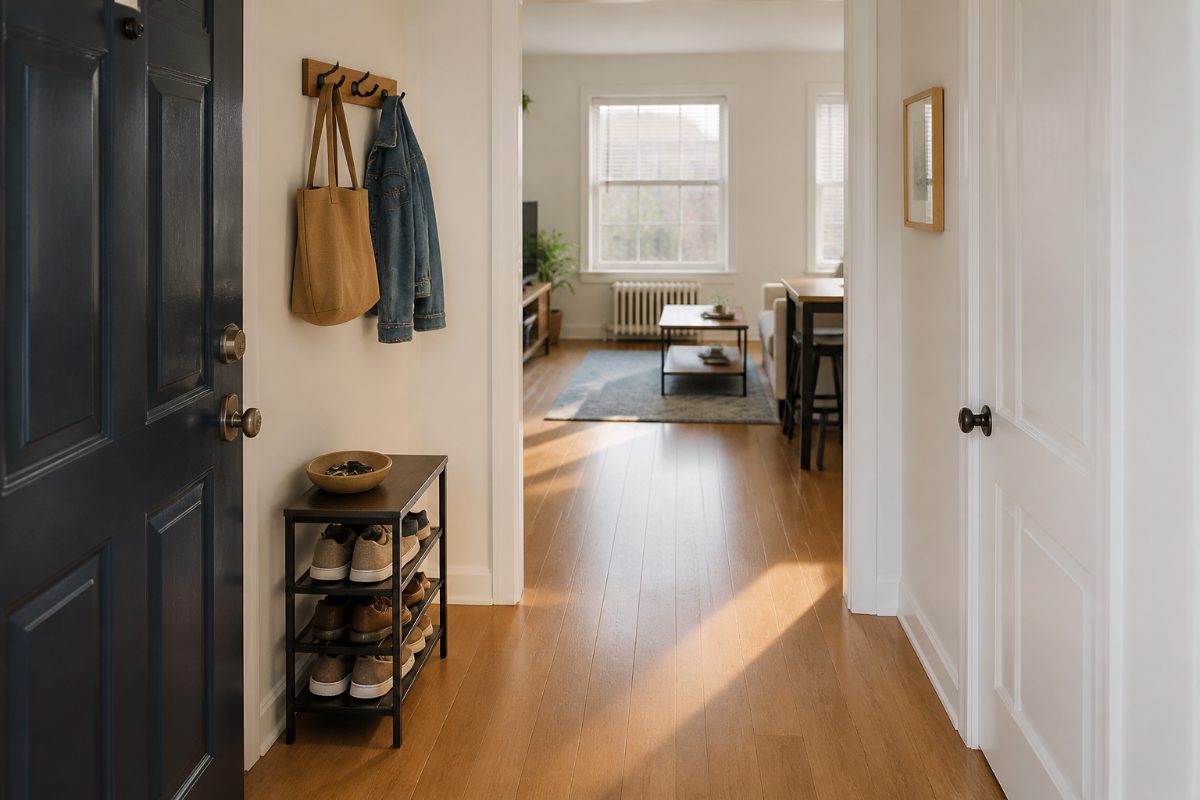
- Check: Sort what is currently by the door into items used when leaving, items waiting to be put away, and items that arrived there by accident. Notice which group takes up the most space.
- Fix: Assign accessible spots for the essentials, such as shoes, keys, and bags. Return unrelated items to their usual storage locations rather than creating a second pile nearby.
- Next step: If the entryway fills again, examine the repeat offenders. A frequently used bag may need an easier place to land, while items awaiting another task may need a separate reminder away from the walkway.
A defined place makes it possible to put something away in one motion instead of deciding where it goes each time. In a small apartment, prioritize a clear path and a few daily-use items over adding more storage furniture. In a larger household, agree on whose items go where so one person is not left sorting everyone else’s things.
10. What helps when you keep misplacing your keys?
Choose one visible place for your keys and use it every time you come in. Searching becomes harder when keys can end up in a coat, on a counter, or inside a bag.
- Check: Recall where you tend to set keys down immediately after entering. Look for a spot near that natural path rather than choosing a location that requires an extra trip across the home.
- Fix: Designate a bowl, tray, or hook and put the keys there as part of your arrival routine. Keep the spot clear enough that the keys remain easy to see.
- Next step: If you still forget, attach the action to something you already do when arriving, such as placing your bag down. Review whether the chosen spot is inconvenient and move it if necessary.
The goal is not to remember more possible locations; it is to reduce the number of locations you need to check. University of Georgia Extension’s time-management guidance recommends finding strategies that fit your habits and ability to stick with them. A key spot beside your usual entrance follows that principle better than a tidy-looking spot you never pass.
Frequently Asked Questions
Should I try every fix before calling for repairs?
No. Start with a safe, reversible check that matches the symptom, such as looking for an obstruction or cleaning an accessible surface. Stop when you find an active leak, damaged electrical parts, an unstable fixture, or a step you cannot perform safely.
Is a slow sink always a clog near the stopper?
No. Hair near the stopper is a useful first check because it is visible and often accessible, but a restriction can be farther down. If clearing the opening does not improve drainage, avoid repeating the same step and investigate the next part of the drain safely.
Can I use more cleaner or detergent to speed things up?
Usually, it is better to identify what needs removing first. Extra detergent can leave residue, while more cleaner will not fix a refrigerator spill you have missed or an appliance surface that is damaged.
Which of these fixes make sense for renters?
Cleaning accessible surfaces, moving obstructions, and setting up a place for daily items are practical starting points. Follow your lease and report persistent plumbing problems, leaks, unstable fixtures, or repairs that require changing installed parts.
The takeaway: diagnose first, then make one small change
The easiest first fix is usually the one closest to the symptom: check a faucet outlet, look at a sink stopper, watch a toilet tank, or find where a door rubs. Make one reversible change and test the result before moving on. That approach helps you avoid replacing a part when the real issue is a snag, spill, obstruction, or routine that needs a better place to land.
Product designs and care instructions differ. Check the instructions for your particular appliance or fixture before removing parts or using a cleaner, and leave persistent leaks, electrical damage, and unstable installations to qualified repair help.
References
Information in this post was checked as of October 2026. Policies and prices may change, so please verify important details with official sources.
Comments
Post a Comment